

There had been many test fittings in order to find out where I might run into a problem. - When you have a bit of epoxy schmutz ready to cure you don't have an indefinite length of time to problem-solve. It is wise to anticipate possible issues and be ready to deal with them quickly if they arise.
Had I followed the manual's construction sequence, I would have had the deck attached long ago. However, since I had already fiber-glassed both sides of the deck, I was able to take care of cutting the hatches and installing the hatch sills this past week.

The adjustable foot braces and the internal studs were a straight forward installation sans deck. There are simpler foot brace options which involve a little bolt driven through the side of the hull. That might have been fairly easy. But
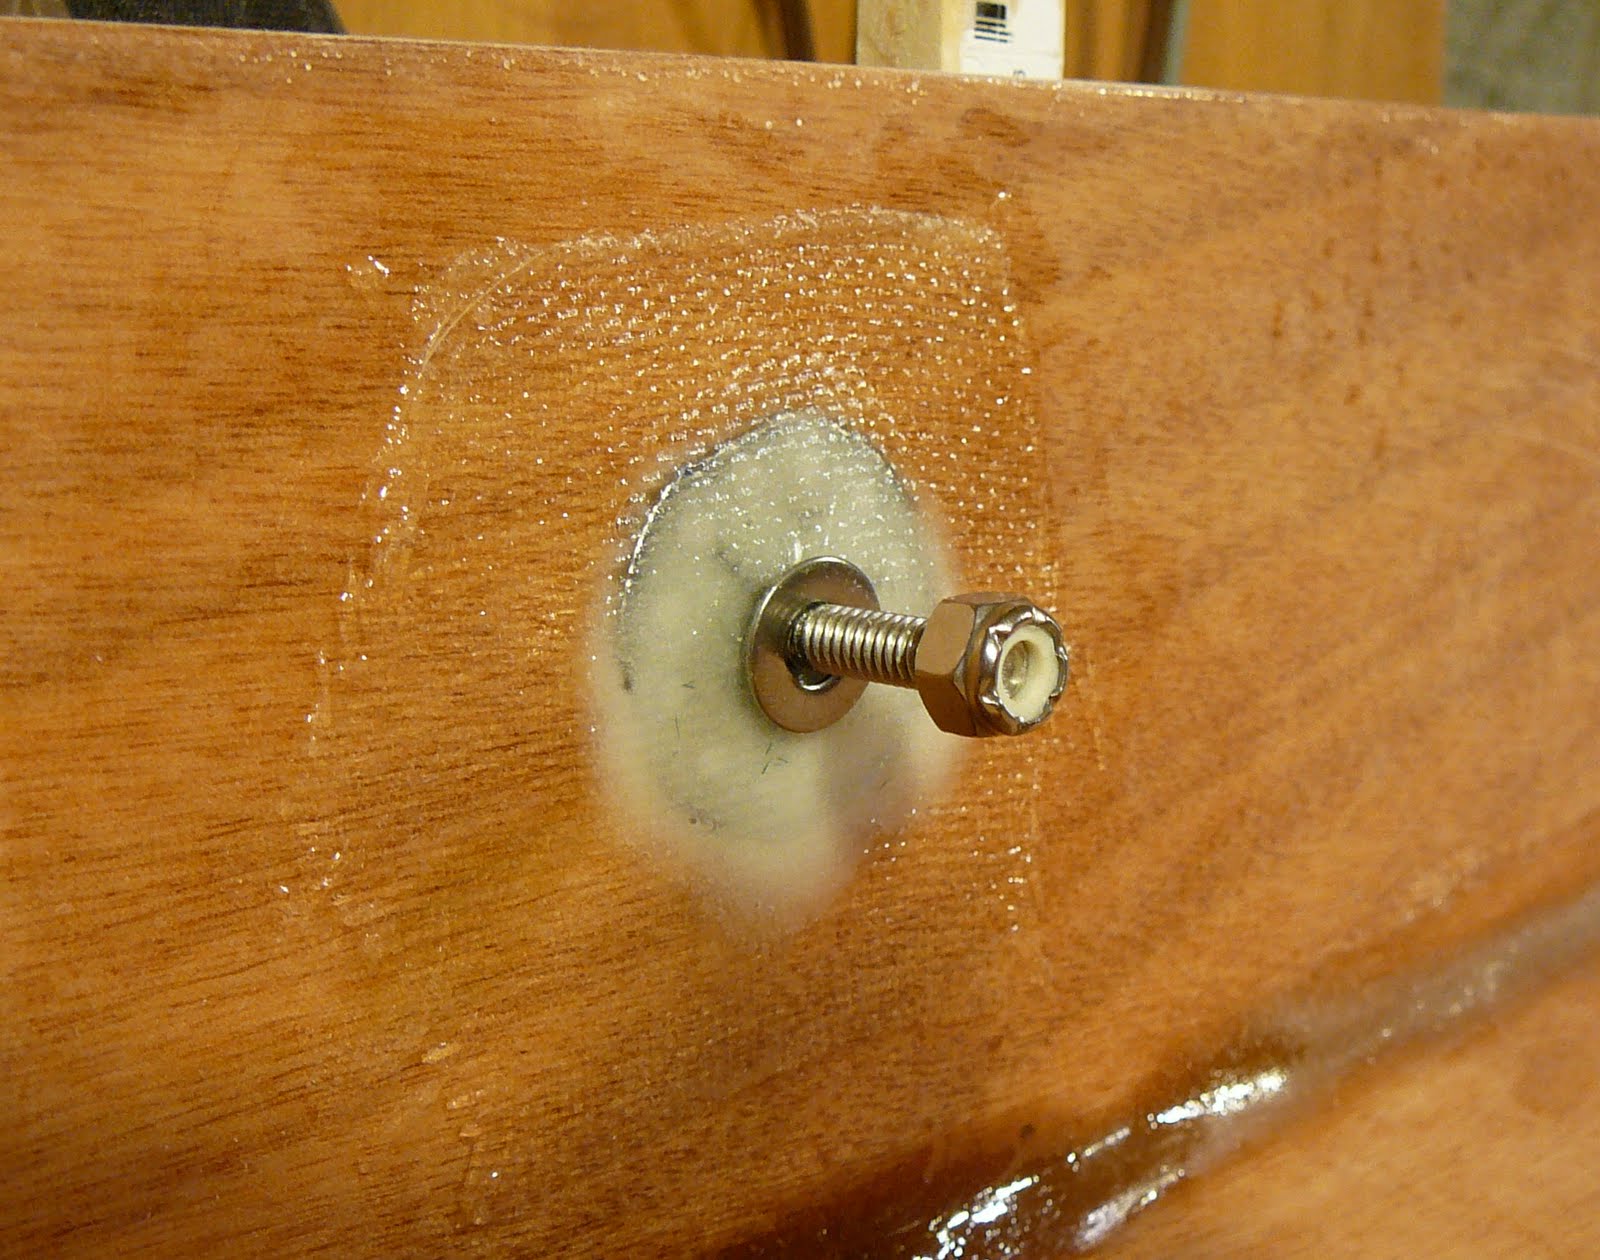
There was one other item that I accomplished in this past week. Ordinarily, the instructions direct the builder to pour 8 oz of epoxy schmutz into the bow and stern after hull and deck are attached. This is accomplished by taking the kayak outside and then propping it up "tall" by a tree or the house - please not on a windy day - they advise. Then you have to stand on a little ladder and construct a pouring bucket that allows you to lower it into the bottom of bow and stern respectively and then dump it. This procedure sounded rather unappealing to me. While we don't have snow at the moment, around these Pennsylvania parts, there are not any convenient flat areas where one could safely accomplish such a risque maneuver.


So cutting these slots needed to be done prior to attaching the deck. Right?! This morning this task was completed.
In order to facility the automatic alignment of hull and deck, I hot-glued guiding posts at along the hull which I then covered with plastic to ensure that they would not inadvertently get glued to hull and deck - permanently.
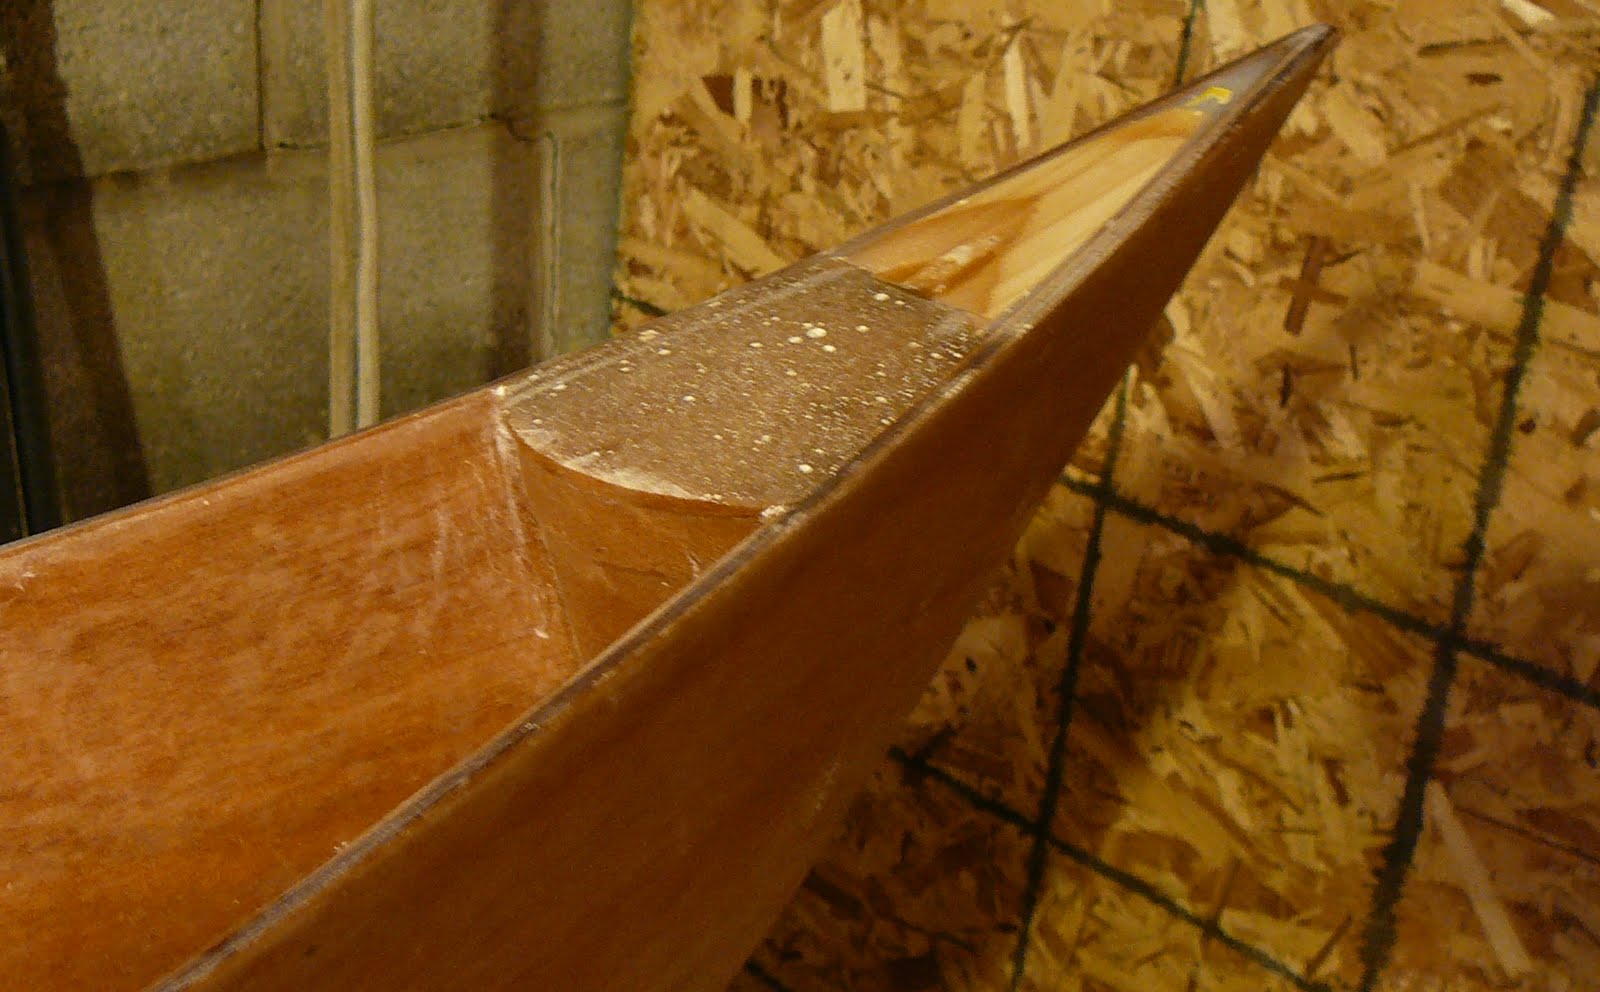
For the most part, the deck fit pretty well. In one place some extra attention (and pressure) was required to make sure that there was not any visible gap between hull and deck. Once hull and deck were properly taped together, I soaked 16 feet of 3" wide fiber-glass ribbon in epoxy and then rolled it inside along the deck/hull seam. Actually I did it in four parts: port side front, port side back, starboard front and then starboard back.

This was not an easy job and I found myself unfurling the ribbon on one side more than once because further in the ribbon somehow went off course and did not readily brace the seam. A second try went much better. The access via the already cut hatches made things a lot easier.

I am waiting for the epoxy to cure so that I can pull off all that tape that is currently holding hull and deck in position.
There is still much to do. Yet, at this point you could say that the kayak is starting to look like a proper Night Heron.
No comments:
Post a Comment