

But wait, we are not done! In fact, I am in no hurry because what's the point of having the kayak rearing to go for a spin on Feb 15th? Right - that's what I thought!
Besides the fact that there are actually lots more things to do before my vessel is ready to launch, I decided that being in a hurry was totally pointless - unless I were to take her to Florida or some place else warm. So, I am taking my time.
I am not certain yet on the final look of the boat either. This here Heron will be in greenery of sorts. So, I do have some green paint for the bottom but I am not yet certain how much of the hull to paint and how much to leave "bright", as they call it.

Uncertainty can actually be a sort of delicious delight.
Meanwhile a number of tasks need to be accomplished before paint and varnish can be rolled on. For one, the sheer on the outside need a band of fiber glass. Not a favorite task but an important one to balance the fiber glass ribbon along the inside sheer line... to seal hull and deck forever more.
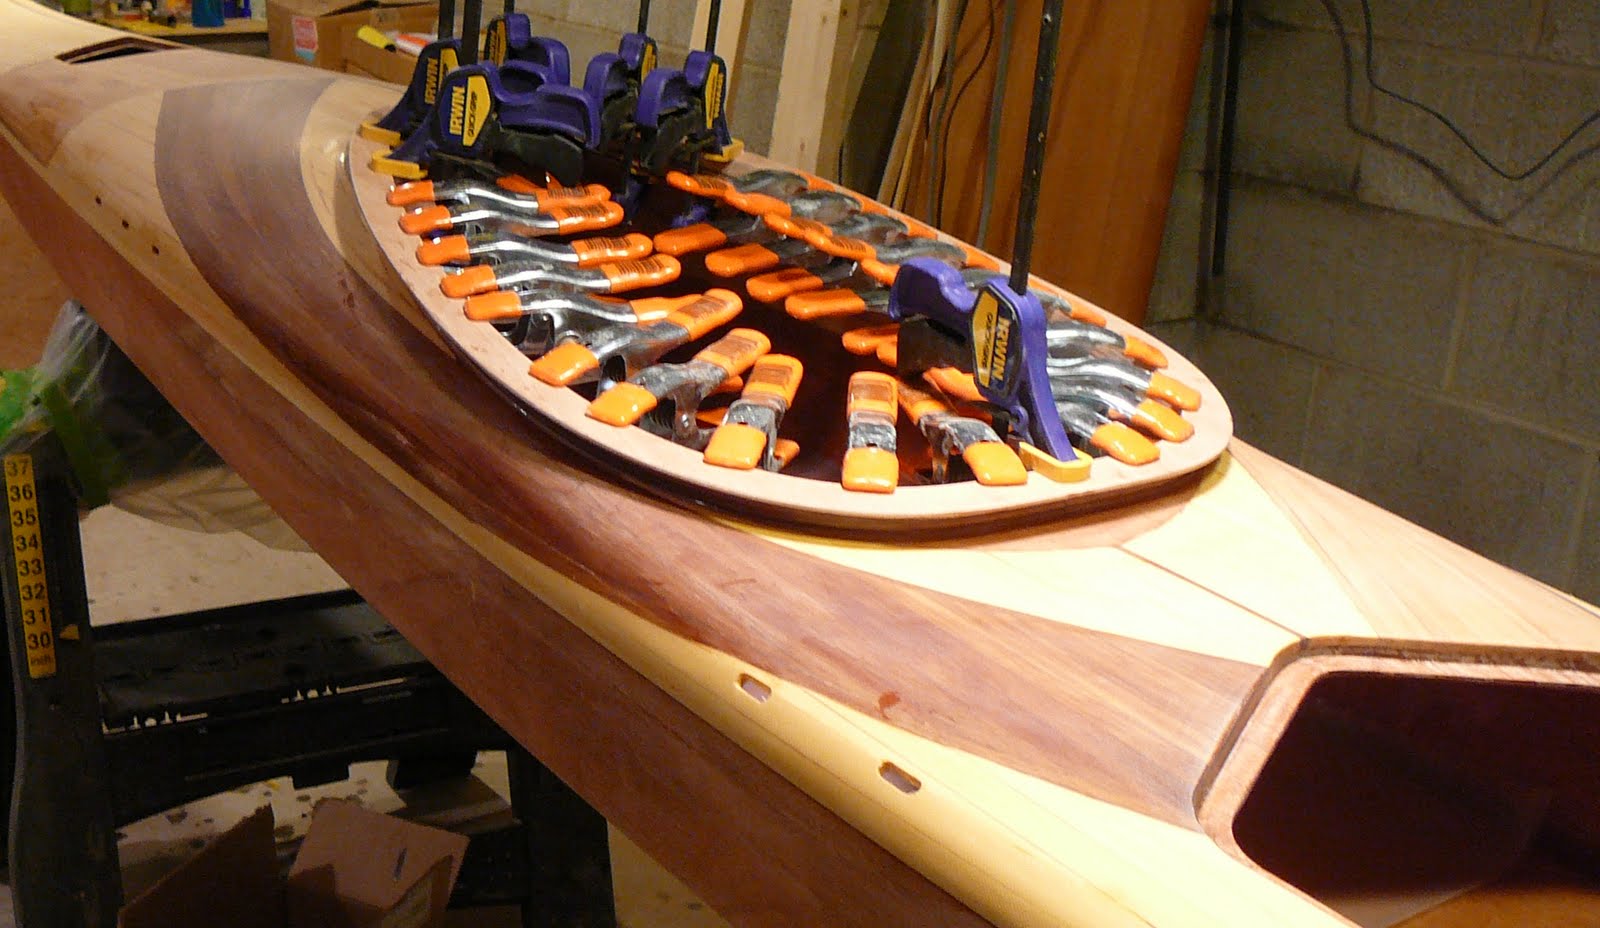
The afore-mentioned soft pad-eye slots needed to be filled with epoxy and re-cut since the green webbing I want to use is of a thinner gauge than the black default webbing I had used to test-size the slots. Not exactly fun to do something over but then it was a simple task though admittedly tedious. Thanks to some nifty Dremel Tool attachments, it was manageable.


...not until after the final coat of varnish has cured.
So there you have it.
No comments:
Post a Comment